The Client Portal is a secure way to communicate and share information with your clients.
You can invite your clients to a private page to access:
- Invoices
- Tasks
- Events
- Notes
- Documents
- Intake Forms
- Payment Profile
You can also exchange messages and comments for instant communication.
As an admin, you have full control over what can or cannot be shared with your clients, and you can set permissions/restrictions per matter.
Watch a Video
Client Portal Screens
The client portal includes several screens. The viewable items can change based on the permissions that you assign.
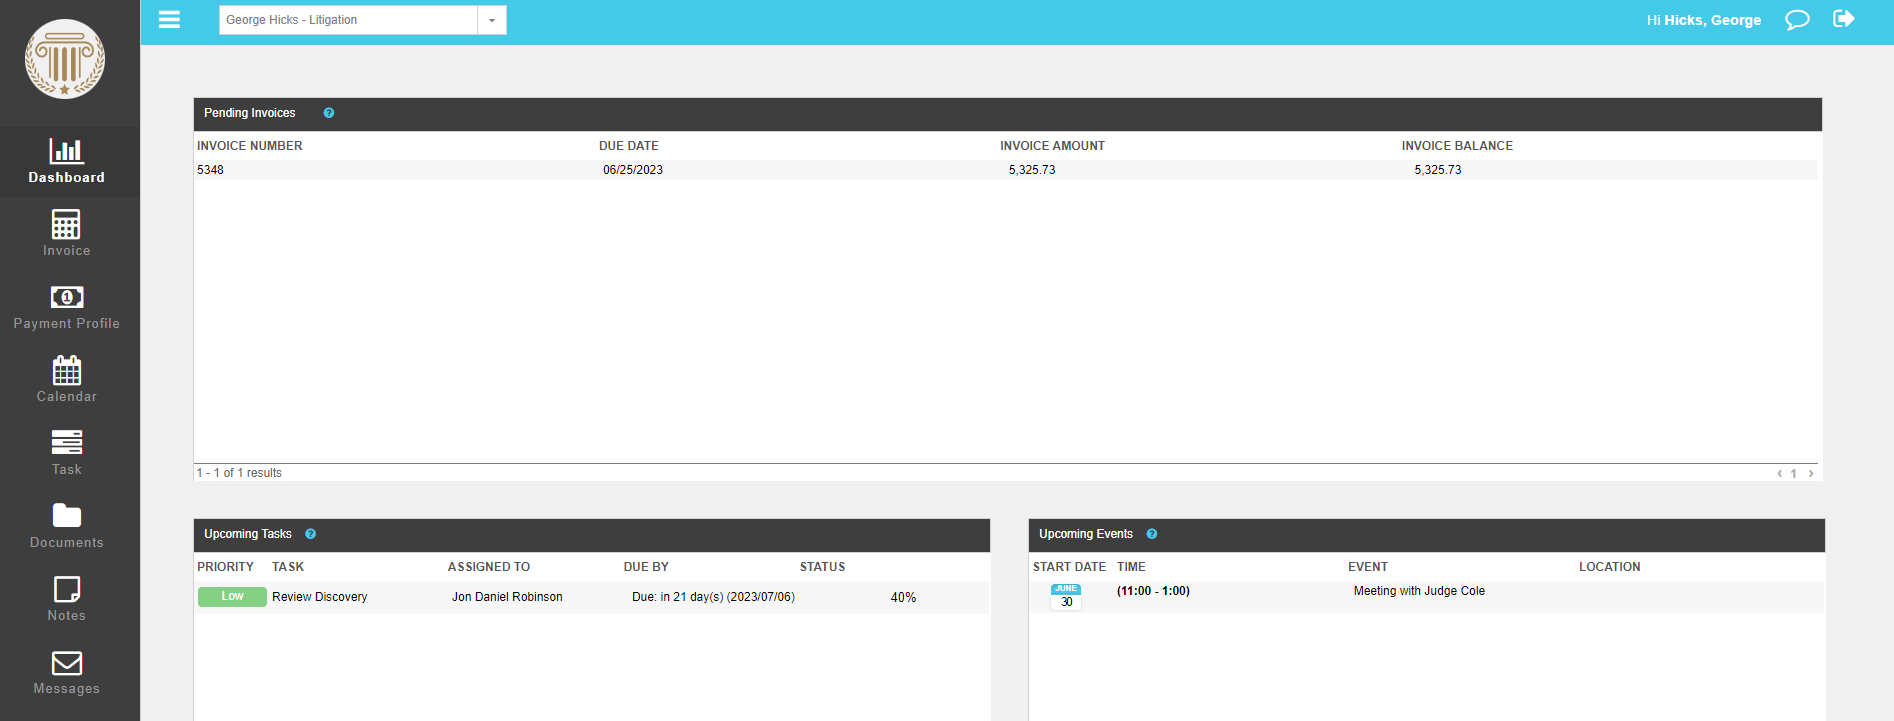
| Dashboard | View pending invoices, upcoming tasks, and upcoming events. |
|---|---|
| Invoice | Download and view invoices the firm has shared and pay invoices online via our payment processing integrations. |
| Calendar | View calendar events the firm has shared. |
| Task | View tasks the firm has shared. |
| Documents | Download, view, and upload documents the firm has shared. |
| Notes | View notes the firm has shared. |
| Messages | Read and respond to messages from permitted CosmoLex users. |
| Payment Profile | Reuse payment methods for both credit cards and ACH/eCheck methods. |
Enable the Client Portal
Step 1: Enable Firm Level Settings
To enable firm level settings:
- From the left navigation panel, click Setup.
- From the Setup left navigation, click Firm Settings.
- From the tabs atop the Firm Settings screen, click Firm Preferences.
- On the Firm Preferences screen, scroll down to the Client Portal section.
- By default, the Client Portal toggle is ON and green. If you wish to turn it off, click to slide to gray OFF.
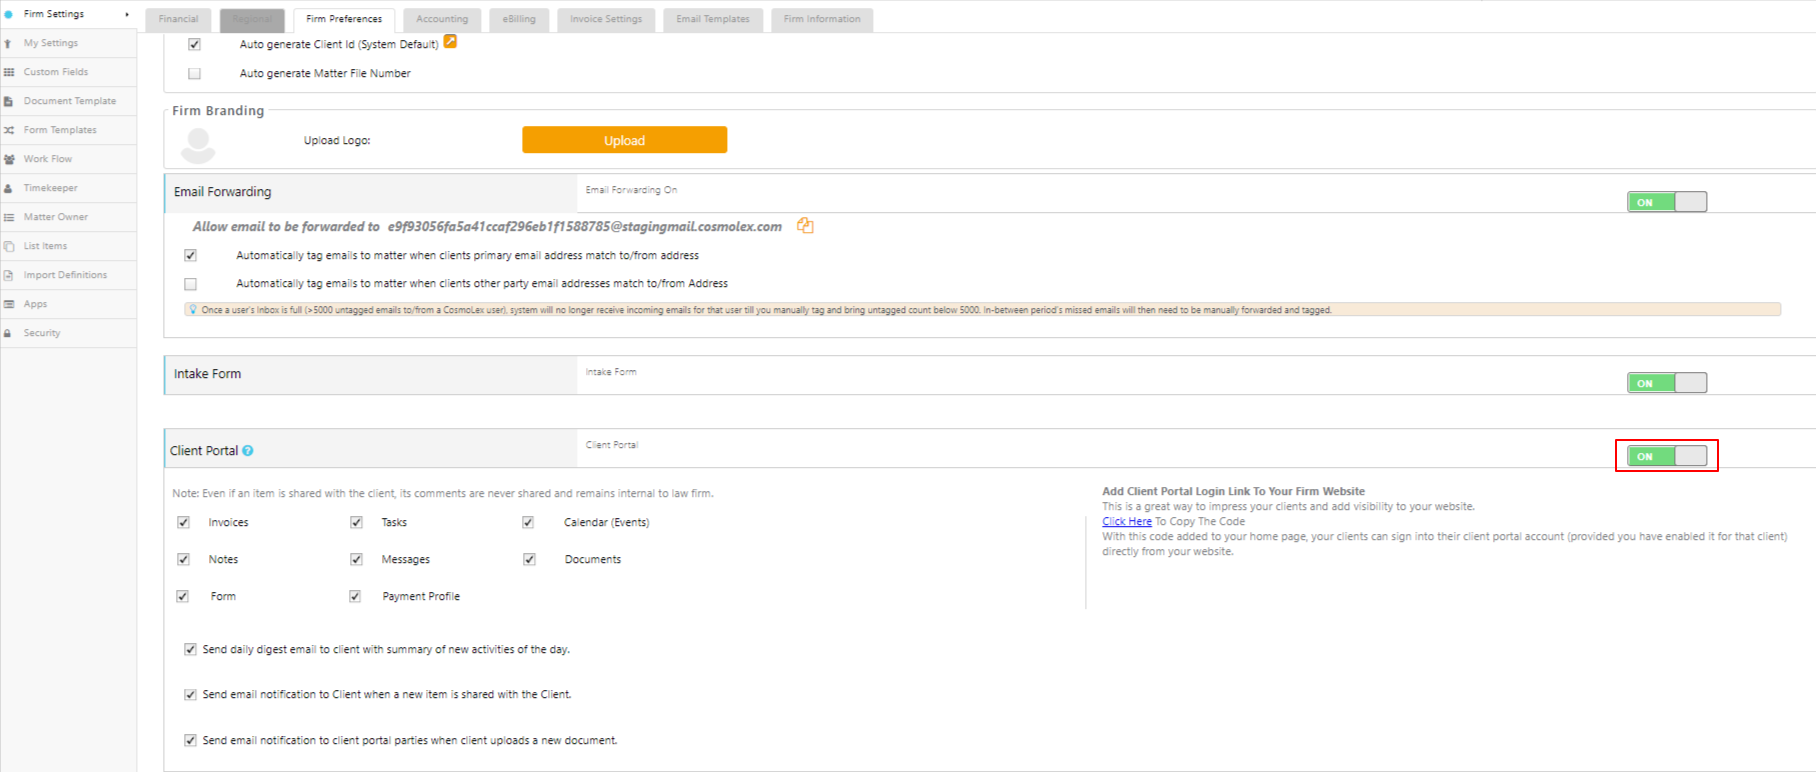
- Under the Permissions section, the boxes are checked by default. Uncheck the boxes beside the areas for which you do NOT want to permit sharing. You can add further restriction at the matter level.
Step 2: Enable Matter Level Settings
To enable matter level settings:
- From the left navigation panel, click Matters.
- On the Matters screen, either double-click the matter, or single-click it, and then from the toolbar, click Details.
- From the Matter Details left navigation, click Client Portal.
- On the Client Portal screen, in the upper right corner, click the gray OFF switch.
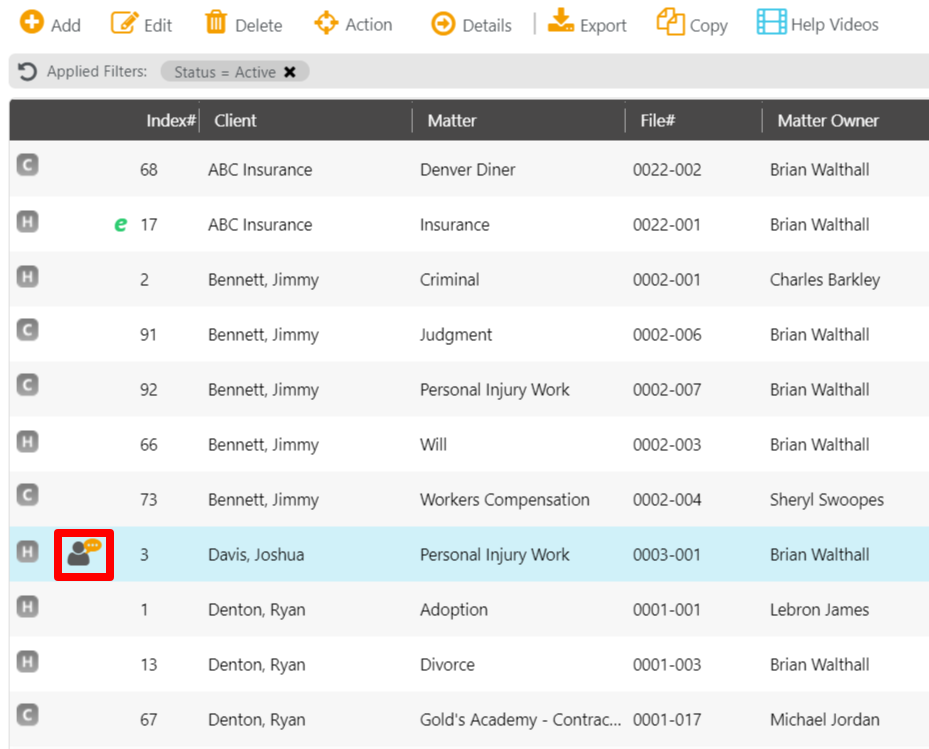
The switch turns ON and green. On the Matters screen, a silhouette icon displays to the left of the client’s name to indicate you can share items for the matter via the client portal.