You can use tasks to create, delegate, and monitor work among firm users.
Watch a Video
Add a Task
From Matter Details
To add a task form Matters Details:
- From the left navigation panel, click Matters.
- On the Matters screen, either double-click a matter, or single-click it to highlight it, and then from the toolbar, click Details.
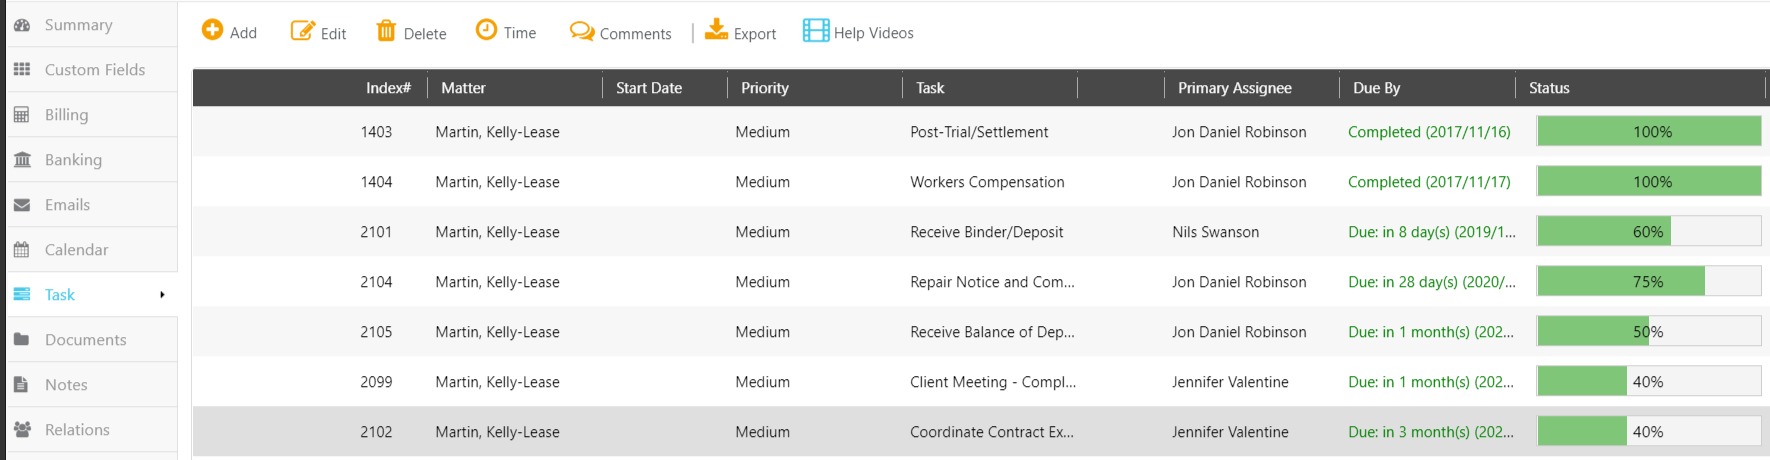
- From the Matter Details navigation, click Task.
- From the toolbar atop the Task screen, click Add > Task.
From Activities
To add a task from Activities:
- From the left navigation panel, click Activities.
- From the Activities left navigation, click Task.
- From the toolbar atop the Task screen, click Add > Task.
Add Task Screen Fields
| Task Name |
Enter the task name. |
| Mark this task as private |
Check the box, if desired. |
| Link to Matter |
Take the appropriate action:
|
| Billing Status |
From the drop-down, click the billing status. |
| Start Date | From the drop-down, click the task start date. |
| Due Date | From the drop-down, click the task due date. |
| Estimated Hours |
Enter the estimated hours. |
| Actual Hours |
Enter the actual hours. |
| Priority |
Use the drop-down to select from Low, Medium, High. |
| Reminders |
Click Add Reminder. Use the drop-down and entry fields to set your reminders. |
| Primary Assignee |
From the drop-down, click the primary assignee. Click Add Additional Assignee to add them when applicable. Any users restricted by the Ethical Wall will not display in the drop-down. |
| Custom Labels |
Click Add New Label to add labels, if desired. |
| Description |
Enter a task description. |
| Task Options |
Use the Status field’s drop-down to click a status. |
| Task Color |
Click a color to assign it to the task, if desired. |
| Send Email When Task is Completed | Uncheck the box, or leave it checked. |
- In the lower right corner, click Save.
The system saves the task and emails the assignees.
Lear how to Create a Timecard for the task you added.
Edit a Task
To edit a task:
- Use the steps above to go to the task screen from Matters or Activities.
- On the Task screen, either double-click a task, or single-click it to highlight it, and then from the toolbar, click Edit.
- On the Edit Task screen, make your updates.
- In the lower right corner, click Save.
The system saves your updates.
Delete a Task
To delete a task:
- Use the steps above to go to the task screen from Matters or Activities.
- On the Task screen, single-click a task to highlight it.
- From the toolbar, click Delete.
The Delete Task message box reads: Are you sure you want to delete selected task? - Click Yes.
The system deletes the task.
Sample Task Lists