CosmoLex’s two predefined auto numbering schemes include the default scheme that applies to new accounts.
However, you can create a custom auto-numbering scheme for your firm’s clients. You can order your scheme’s types, or data fields, in whatever way best suits your firm’s needs.
Create Custom Auto-Numbering for Client IDs
To create a custom auto-numbering scheme for clients:
- From the left navigation panel, click Setup.
- From the Setup left navigation, click Firm Settings.
- From the tabs atop the Firm Settings screen, click Firm Preferences.
- On the Firm Preferences screen, scroll down to the Auto Numbering section.
- To the right of Auto Generate Client Id (System Default), click the orange arrow icon.
- On the Apply Auto Numbering screen, from the Selected Template field’s drop-down, click Custom.
- Beneath the Select Values section, to the far right of the default sequence, click X.
The system removes the sequence.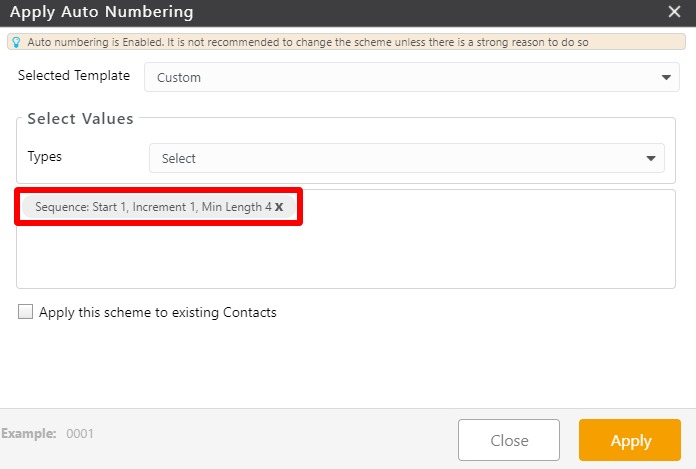
- From the Types field’s drop-down, click your preferred option.
| Sequence |
|
|---|---|
| Separator |
|
| Text (max of 4 characters) |
|
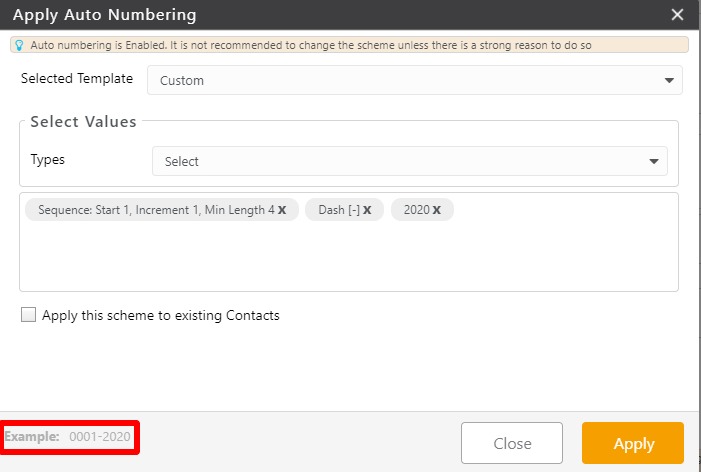
- In the lower left corner of the Apply Auto Numbering screen, view the example to confirm the scheme meets your needs.
This example shows a four-digit sequence followed by a dash and the year.
- Check the box to Apply this scheme to existing contacts, if desired.
- Click Apply.
The system returns you to the Firm Preferences screen. - In the upper right corner, click Save.
The system finalizes your scheme.