You can print trust checks from Matter Details and Accounting.
Display Payee Address on Checks
To display the payee address on your printed trust checks:
- Edit the payee to confirm their zip code and city fields are populated.
- From the left navigation panel, click Setup.
- Atop the Setup left navigation, click Firm Settings.
- From the tabs atop the Firm Settings screen, click Firm Preferences.
- On the Firm Preferences screen, in the Check Settings section’s Checks Print Add’l Info(Trust) field, click either Payee Address or Payee Address with Matter Info as desired.
- In the upper right corner, click Save.
The system saves your payee address selection.
Print Your Trust Bank Checks
Navigation
Once your transaction is entered you can print trust checks from two areas of the program:
- From Matter Details – When viewing the details of a matter, click on the banking tab, and in the toolbar, you will see Action. Click and choose Print Trust Checks
- From the Bank Ledger– Under Accounting > Banks you will find your list of bank accounts. When viewing a trust banks’ details, click on the transactions tab. In the toolbar, you will see Action. Click and choose Print Checks.
Printing Checks
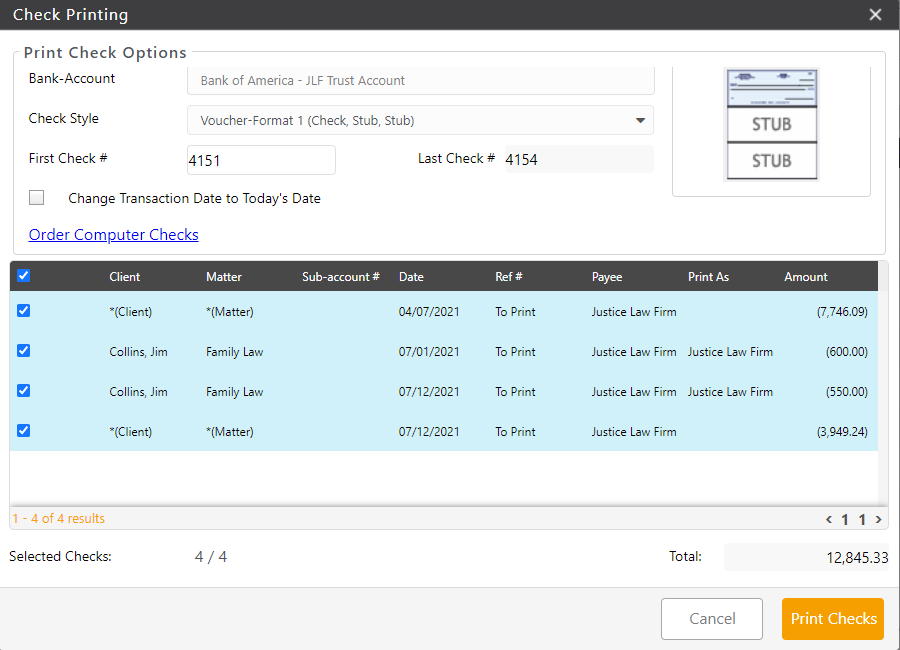
- The Bank Account field will either be prepopulated with the bank account you are printing from, or include a list of trust banks associated with that matter you are within.
- In the Check Style field, confirm the appropriate check style displays or change your default under Setup > Firm Settings > Firm Preferences > Check Settings.
- In the First Check # field, confirm the number is the next available in your stock or change it as needed.
- In the Last Check # field, this number is automatically calculated based on your first check number and the number of transactions selected below. This number will change as you select/deselect transactions from the list.
- Check the box to Change Transaction Date to Today’s Date, if desired. This will change the date of the selected transaction to today’s date once printed.
- In the check transaction list, select checks you want to print.
In the lower right corner, the Total field automatically updates to reflect your selections. - Click Print Checks.
The system generates a PDF file for printing on your check stock.
Reprint Trust Checks
If the check was already printed on your check stock, but has a mistake, instead of reprinting, you will want to void that transaction to keep a record of that check number, and then re-enter that check correctly and print a new check.
The following steps are for when you print the checks to PDF and notice a mistake before printing onto check stock.
- Locate the transaction from within Matter Details > Banking or Accounting > Bank Details > Transactions. you will notice Ref# now displays a check number.
- Single-click the check to highlight it and click Edit.
- Toward the right of the Edit Trust Transaction screen, check the To be Printed box.
- In the lower right corner, click Save.
To print displays in the check’s Ref # field. - Reprint the check.