The Outlook Add-in allows you to add an Outlook email that you receive, send, or draft to a matter and track time. If you have not already, learn how to Install the Outlook Add-In.
You can use the Outlook Add-in to:
- Tag an Email From Any Folder to CosmoLex
- Tag a Draft Email to CosmoLex
- Track Time from Outlook
- Tag An Outlook Email from CosmoLex
Access CosmoLex from Outlook (Desktop)
To access CosmoLex from your Outlook (Desktop):
- Single-click an email from your inbox to select it. For draft email, from the toolbar click on New email.
- In the upper right corner of the app, click the CosmoLex icon.

On the far right of your screen, the CosmoLex Outlook Add-in panel opens. If you are not already logged into CosmoLex from Outlook, you will be prompted to sign in.
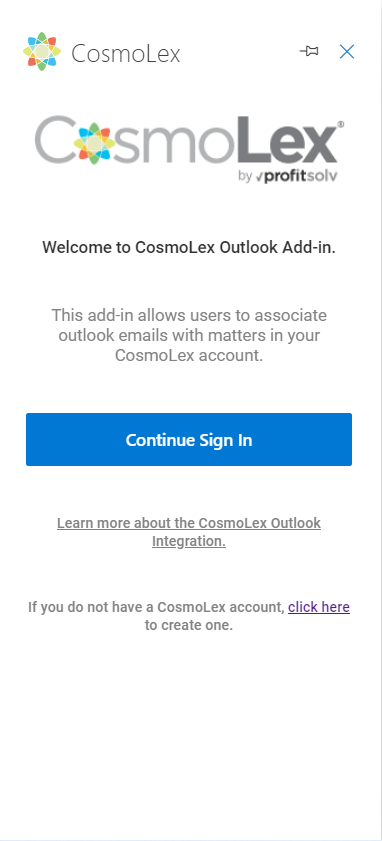
- Click Continue Sign In.
- Enter your CosmoLex credentials and click Sign In.
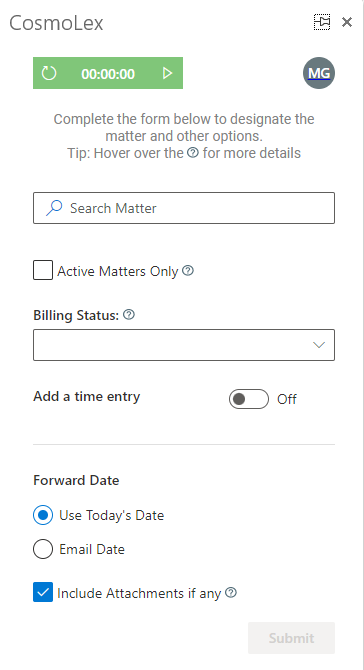
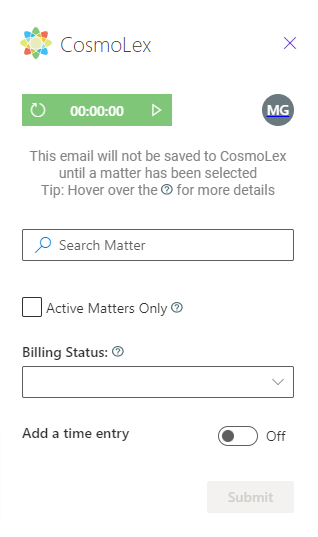
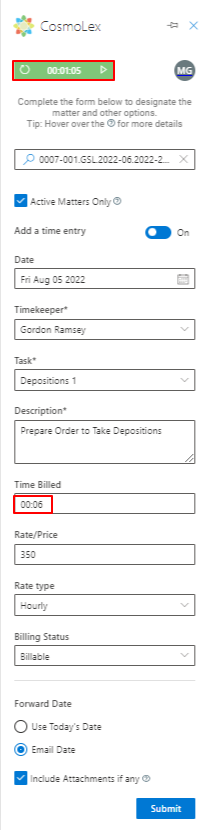
A matter search form displays with a Timer.
Access CosmoLex from Outlook (Web)
To access CosmoLex from your Outlook (Web):
- Single-click an email in your inbox to select it.
- To the far right of the email, click the three dots.

For Draft email, from the toolbar click on New email. At the bottom of the mail, click on the three dots.
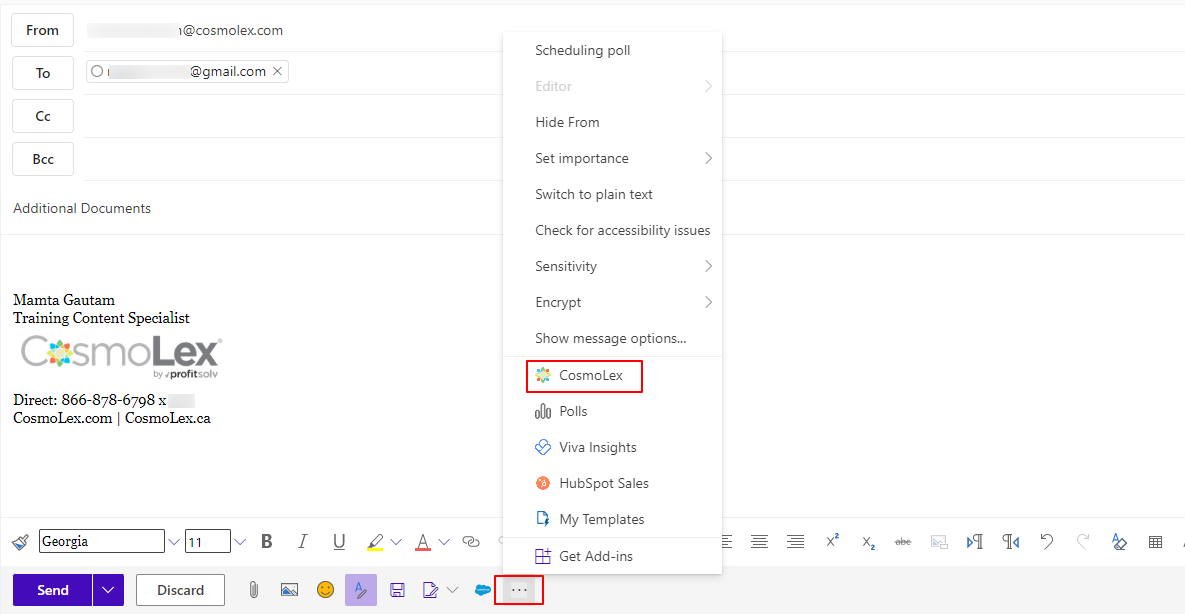
A drop-down displays your apps towards the lower half of the pane.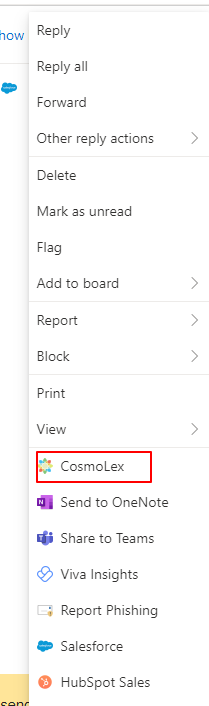
- From the drop-down, click CosmoLex.
If you are not already logged in to CosmoLex from Outlook, you will be prompted to sign in.
- Click Continue Sign In.
- Enter your CosmoLex login credentials.
- Click Sign In.
A matter search form displays with a Timer.
Tag an Email From Any Folder to CosmoLex
To tag a received or sent email to a matter from Outlook:
- Use the steps above to access CosmoLex from Outlook (Desktop) or Outlook (Web).
- In the Search Matter field, enter either the matter name or the matter file number.
- From the drop-down, click the appropriate matter.
- From the Billing Status field’s drop-down, click to assign the status within CosmoLex.
- In the Forward Date field, click the radio button to either Use Today’s Date or the Email Date.
- If the email includes attachments, they will be included with your submission unless you uncheck the Include Attachments if any checkbox.
- Click Submit.
The tag displays with the processing icon toward the upper right corner.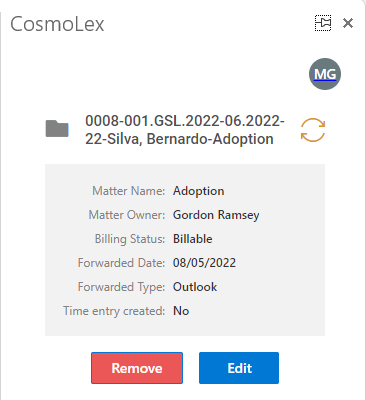
Tag a Draft Email to CosmoLex
To tag a draft email to a Matter:
- On the new draft email, in the To field, enter the email id of the recipient.
- In the subject line, enter the subject of your email.
- Use the steps above to access CosmoLex from Outlook (Desktop) or Outlook (Web).
- In the Search Matter field, enter either the matter name or the matter file number.
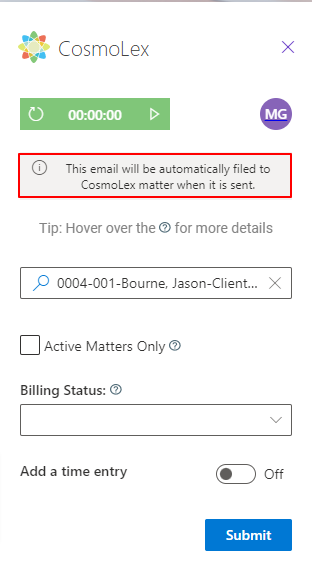
- From the drop-down, click the appropriate matter. When you select the matter name, the message atop will change to This email will be automatically filed to CosmoLex matter when it is sent.
- From the Billing Status field’s drop-down, click to assign the billing status for the email within CosmoLex.
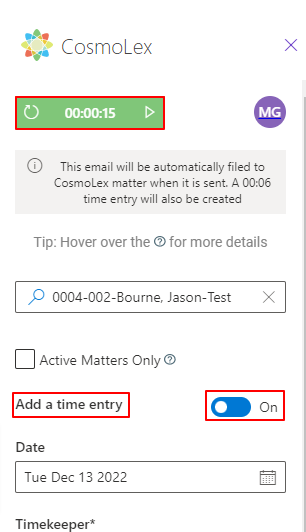
- To Add a Time Entry, slide the radio button to On.
When you stop the timer, the message atop will include the time entry.
Track Time from Outlook
- Use the steps above to access CosmoLex from Outlook (Desktop) or Outlook (Web).
- When the search matter form displays, you can track time by clicking on the green Timer.
- Slide the Add a time entry toggle button to On. Alternately, you can click on the timer to start it, the Add a time entry toggle button will slide to On when you stop the timer.
Track Time Pop-Up Fields
| Date |
|
| Timekeeper |
|
| Activity |
|
| Task* |
|
| Description* |
|
| Time Billed |
|
| Rate/Price |
|
| Rate type |
|
| Billing Status |
|
| Forward Date | You can choose between Today’s Date and Email Date. |
-
- Once you have filled out all the fields, click Submit.
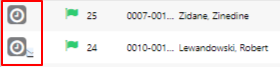
A time entry is created in CosmoLex. The email icon beside the time entry indicates that it is linked to an email.
- Once you have filled out all the fields, click Submit.

Tag An Outlook Email from CosmoLex
When you tag an Outlook email in CosmoLex, our Outlook Add-In automatically tags the email in Outlook.
To tag your email to a matter and auto-sync with Outlook:
- From the left navigation panel, click Activities.
- From the Activities left navigation, click Communications.
- From the tabs atop the Communications screen, click Emails.
- On the Emails screen, check the boxes next to the emails you want to tag.
- From the toolbar, click More > Tag Emails.

- In the Matter field on the Tag Emails screen, enter a matter name or number.
- From the drop-down, click the appropriate matter.
- In the lower right corner. click Save.
The system tags the email to the matter.
Also see Outlook Add-In: Manage Tagged Email