You can forego CosmoLex’s native document storage and integrate document storage with your Dropbox account.
Enable Dropbox Integration
Step 1: Firm Level
To integrate Dropbox at the firm level:
- From the left navigation panel, click Setup.
- At the bottom of the Setup left navigation, click Apps.
- On the Apps screen, in the Documents Apps section, click the Dropbox on/off slider.
The slider switches to On.
Signed into Dropbox
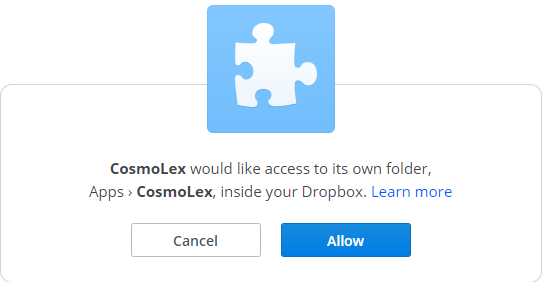
If you are signed into Dropbox, this screen message asks you to allow CosmoLex to create folders within Dropbox:
Not Signed into Dropbox
If you are not signed into Dropbox, the screen message prompts you for your Dropbox login credentials:
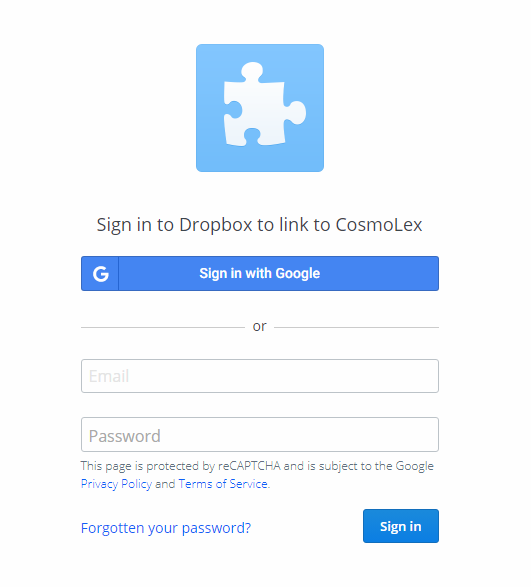
- Click Allow or sign into Dropbox, as applicable.
- If you are signing into Dropbox for the first time, Dropbox emails you to verify your email address.
- Within the Dropbox email, click Verify your email.
CosmoLex displays a message: Dropbox is successfully linked to your CosmoLex account!
- Click Back to CosmoLex.
- From the Dashboard left navigation panel, click Setup.
- From the Setup left navigation, click Firm Settings.
- From the tabs atop the Firm Settings screen, click Firm Preferences.
- Scroll down to the Document Settings section.
- From the Default Document App drop-down, click Dropbox.
- In the upper right corner, click Save.
Dropbox is your firm’s default document app.
Step 2: Create Matter Folders
Once you have integrated Dropbox at the firm level, any new files you create will be saved to the shared folder.
To create your matter folders in Dropbox:
From Matters
- From the left navigation panel, click Matters.
- On the Matters screen, double-click a matter, or single-click it, then from the toolbar, click Details.
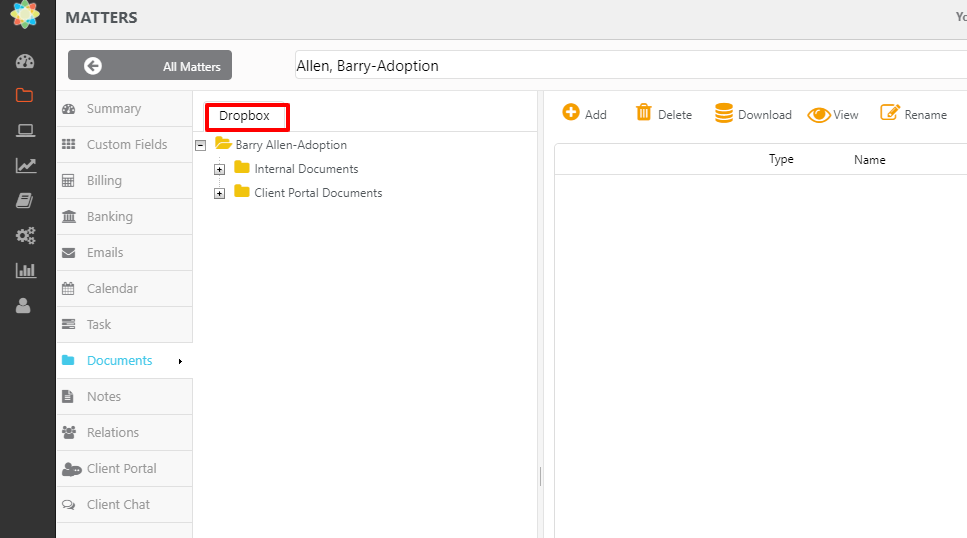
- From the Matters Details left navigation, click Documents.
The Documents message displays: The matter you are looking for doesn’t have a folder assigned. Do you want to create one?
The label above the folder taxonomy reads CosmoLex.
- Click Yes.
The label above the folder taxonomy updates to Dropbox.
From Activities
- From the left navigation panel, click Activities.
- On the Activities left navigation, scroll down and click the Documents tab.
- From the Client-Matter section, double-click a matter.
The Documents message displays: The matter you are looking for doesn’t have a folder assigned. Do you want to create one?
The label above the folder taxonomy reads CosmoLex.
- Click Yes.
The label above the folder taxonomy updates to Dropbox.