You can choose to forego CosmoLex native document storage and integrate your document storage with NetDocuments.
NetDocuments Requirements
Before beginning the integration, configuration steps must be completed within NetDocuments.
You must have administrative access to your NetDocuments account to complete this setup. If you work with a NetDocuments consultant, we highly recommend having them complete this setup for you.
Integrate NetDocuments with CosmoLex
To integrate your NetDocuments account with CosmoLex:
- Login into NetDocuments.
- In the upper right corner, click the username menu’s down arrow and click Admin.
1. Define Client Profile Attributes
Every document is associated with a profile that includes attributes such as Client, Matter or Author. These attributes are metadata fields with which to “tag” documents, further describing and identifying them.
In NetDocuments, Attributes’ main purpose is to simplify search.
- in the upper right corner, click your name.
- Click Admin.
- Click Profile Attributes.
- Click Add to create a new attribute, or Edit to modify an existing attribute. This walkthrough covers creating a new attribute.
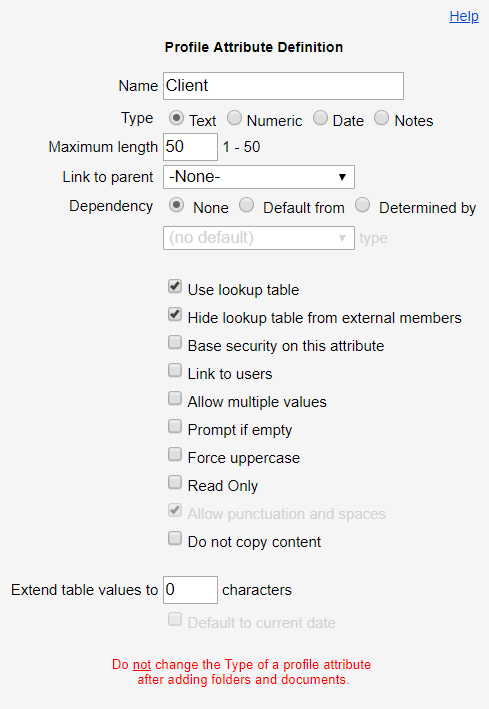
The Profile Attribute Definition screen opens. - In the Name field, enter Client.
- In the Type field, click the Text radio button. Numeric allows only numbers 0-9. Date creates a date lookup in the M/D/YYYY format.
- In the Maximum length field, enter a field character length. We suggest 50 for most attributes.
2. Define Matter Profile Attributes
- in the upper right corner, click your name.
- Click Admin.
- Click Profile Attributes.
- Click Add to create a new attribute, or Edit to modify an existing one.
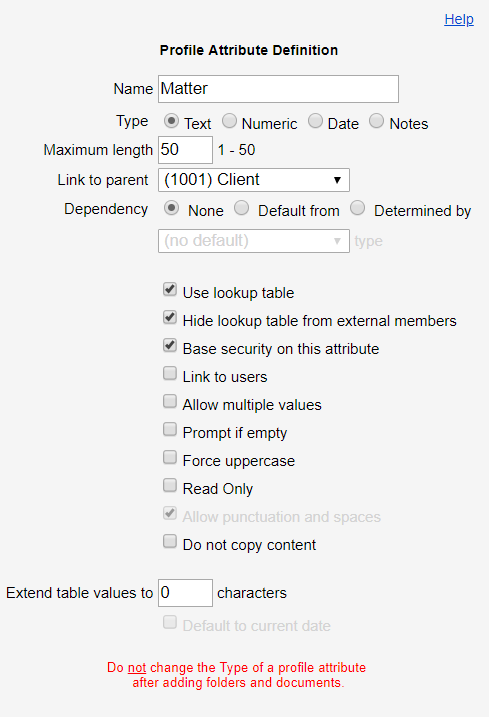
The Profile Attribute Definition screen opens. - In the Name field, enter Matter.
- In the Type field, click the Text radio button. Numeric allows only numbers 0-9. Date creates a date lookup in the M/D/YYYY format.
- In the Maximum length field, enter a field character length. We suggest 50 for most attributes.
- Because a single client can have multiple matters, in the Link to Parent field, click Client.
3. Create and Configure a New Cabinet
Within NetDocuments, a cabinet is the container that houses folders and workspaces. User access is usually granted on the cabinet-level.
- Decide which cabinet you want to integrate with CosmoLex. Only one cabinet can be integrated. It can be a new or existing cabinet.
- To create a new Cabinet, from the hamburger menu, click Cabinets.
- Click the Create an empty cabinet radio button.
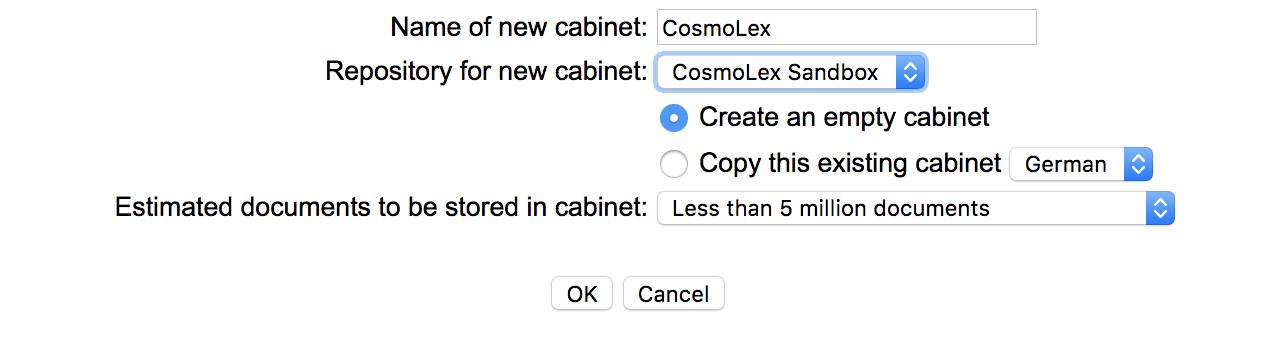
- Click OK.
- The Configure Cabinet screen displays.
- Associate Client and Matter attributes to this Cabinet.
4. Define Workspace Template for a Cabinet
To define Matter/Project Workspace Templates in the cabinet:
In the Cabinet Administration screen’s upper left corner, click Define workspace templates.
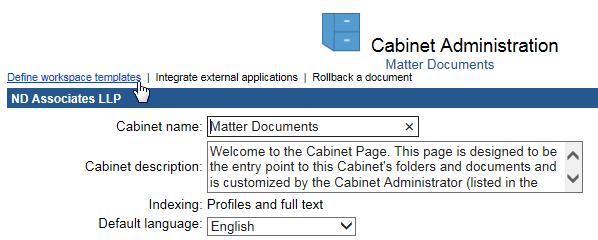
From this screen, you can create multiple templates based on Matter Types, if desired.
5: Base Workspaces on This Attribute
To base workspaces on attributes:
-
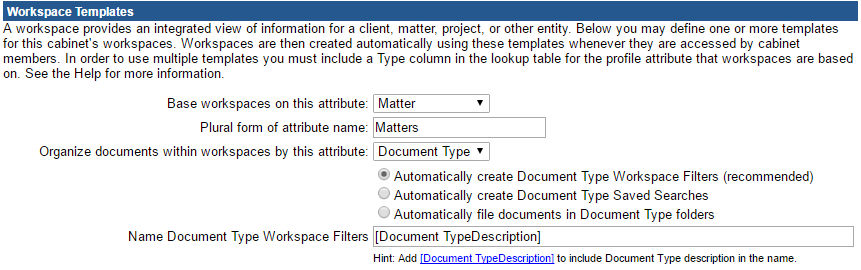
- In the Base workspaces on this attribute drop-down, click an Attribute.
- In the Base workspaces on this attribute drop-down, click an Attribute.
- Enter the attribute’s plural form. If you selected a profile attribute such as Matter, then you would enter Matters. This is the default but can be changed.
- In the Organize documents within your workspaces by this attribute field, click a custom profile attribute other than the one workspaces are based on.
6: Organizing Containers
You have three options for organizing documents in a workspace: folders, saved searches, or filters.
| Folders |
|
|---|---|
| Saved Searches |
|
| Filters |
|
7: Workspace Filter Name
If the Document Type field has both a key and a description, administrators will see an additional option to format the name of the organizing filters, saved searches, or folders.
8: Enable the Workspace
Check the box to Enable Workspaces in the cabinet. Even though you have setup the Template and configured the previous settings, you must check this box so users will have the ability to create, view, or use workspaces.
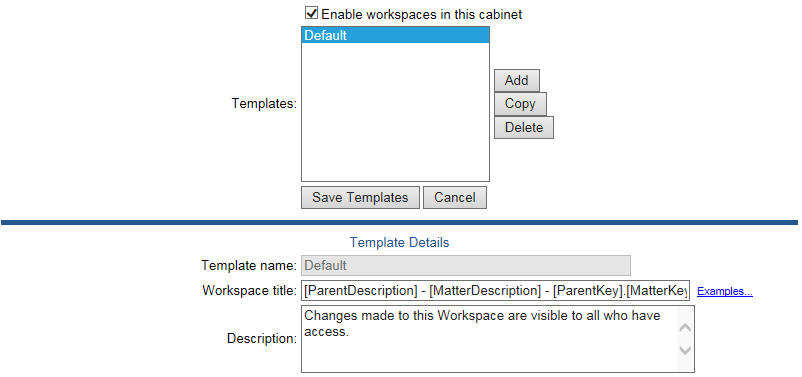
9: Workspace Title and Description
- Enter a title for use with all workspaces. For example, Matter Workspace.
- Click Save Template.
10: Integrate CosmoLex at the Firm Level
Once your NetDocuments account is set up based on the requirements listed above, a CosmoLex admin user must log into CosmoLex to turn on the integration.
To integrate NetDocuments at the firm level:
- From the left navigation panel, click Setup.
- At the bottom of the Setup left navigation, click Apps.
- On the Apps screen, in the Documents Apps section, click the NetDocuments on/off slider.
- In the pop-up window, select the region, United States or Canada, where your NetDocuments Account exists.
- Once you have made your selection, click OK.
- You will be redirected to your NetDocuments login page.
- Click Allow or sign into NetDocuments as applicable.
- Click Back to CosmoLex.
- From the Dashboard left navigation panel, click Setup.
- From the Setup left navigation, click Firm Settings.
- From the tabs atop the Firm Settings screen, click Firm Preferences.
- Scroll down to the bottom of the Trust Settings section.
- From the Default Document App drop-down, click NetDocuments.
- In the upper right corner, click Save.
NetDocuments is your firm’s default document app.
Create a Matter Folder
Once you have integrated NetDocuments at the firm level, any new files you create will move to the shared folder.
From Matters
- From the left navigation panel, click Matters.
- On the Matters screen, double-click a matter, or single-click it, then from the toolbar, click Details.
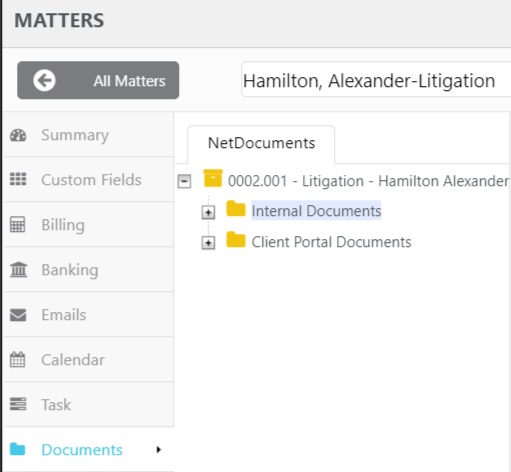
- From the Matters Details left navigation, click Documents.
The Documents message displays: The matter you are looking for doesn’t have a folder assigned. Do you want to create one? The label above the folder taxonomy reads CosmoLex. - Click Yes.
The label above the folder taxonomy updates to NetDocuments.
From Activities
- From the left navigation panel, click Activities.
- On the Activities left navigation, scroll down and click the Documents tab.
- From the Client-Matter section, double-click a matter.
The Documents message displays: The matter you are looking for doesn’t have a folder assigned. Do you want to create one? The label above the folder taxonomy reads CosmoLex. - Click Yes.
The label above the folder taxonomy updates to NetDocuments.
Managing Documents
You can access your documents within CosmoLex either under either Activities > Documents or Matter > Matter Details > Documents.
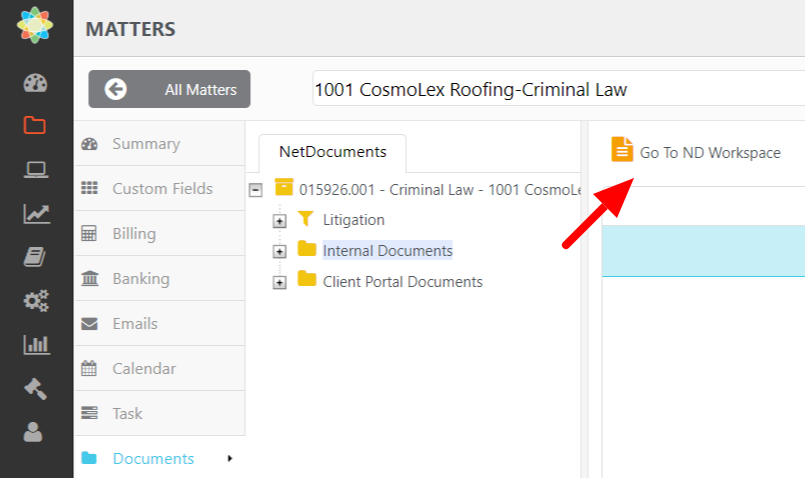
In the documents area, each file’s row includes an Open in NetDocuments button. Clicking the button to launch the NetDocuments website and view the file.
To access your NetDocuments account for that matter, click Go To ND Workspace.