You can utilize intake forms in CosmoLex to automate the collection and population of information specific to a certain matter or contact.
The Form Templates area is where your firms’ intake forms are created and stored for future use.
Create A Form Template
- From the left navigation panel, click Setup.
- Within the Setup left navigation, click Form Templates.
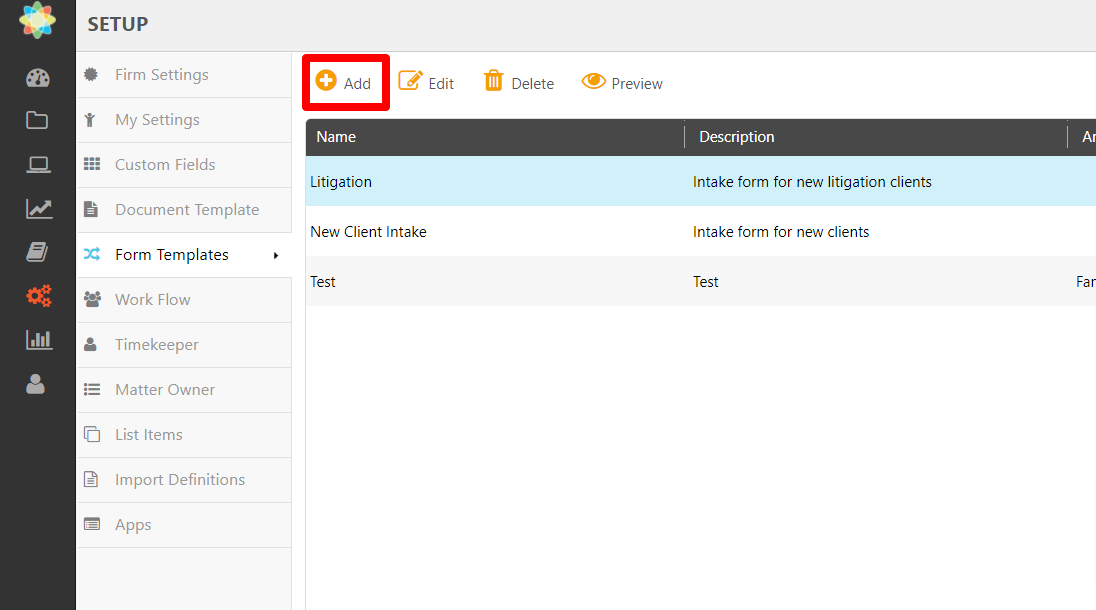
- From the toolbar atop the Form Templates screen, click Add.
The Create Template screen opens.
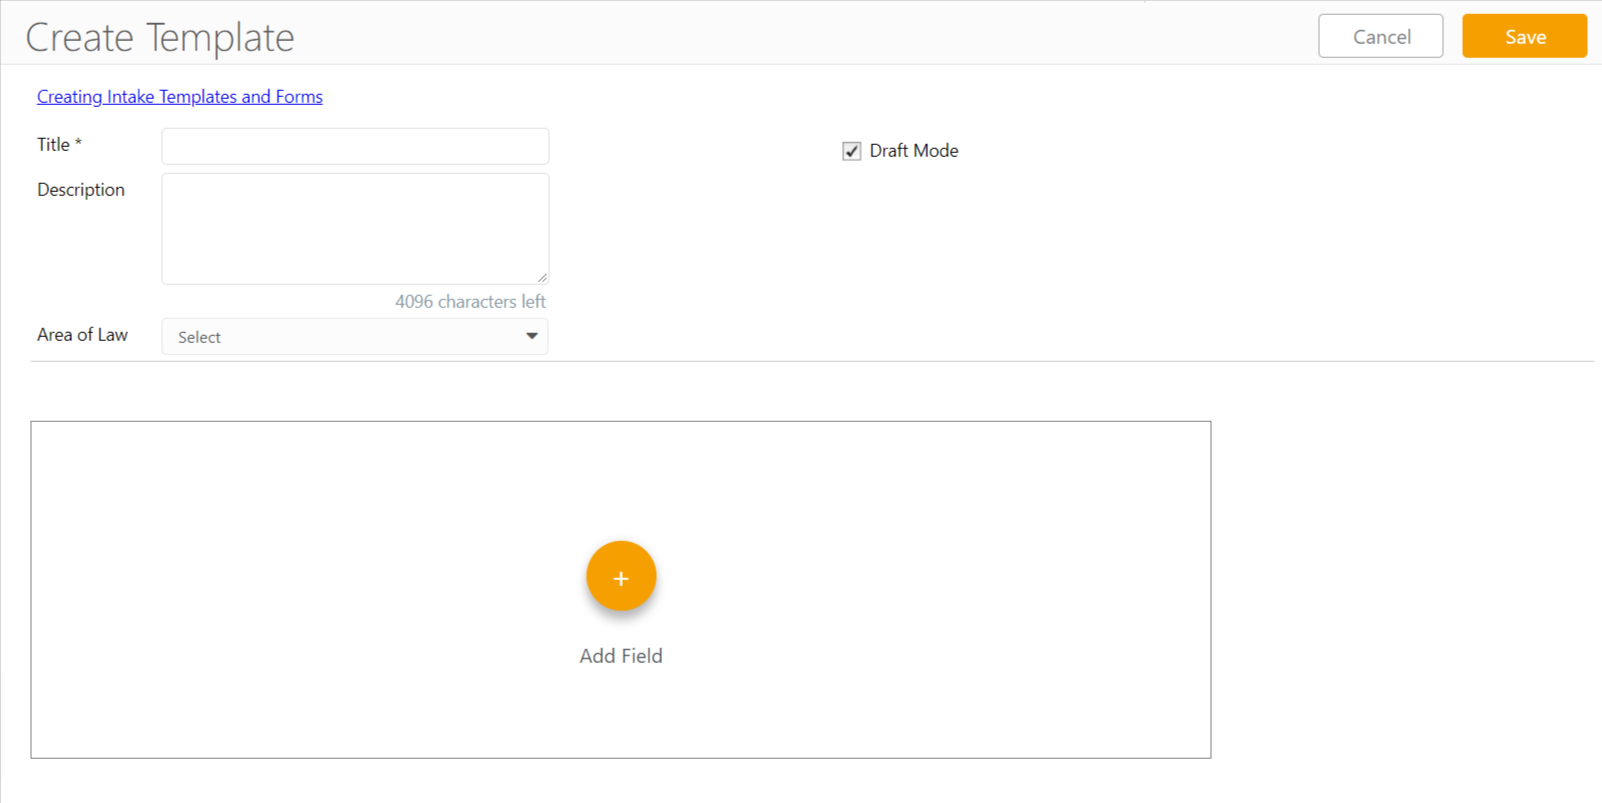
- In the Title field, enter the name of the form template. The title will appear at the top of the form and will be visible to the form recipients
- In the Description field, enter the description for the form template. The description will appear at the top of the form under the title and will be visible to the form recipients.
- In the Area of Law drop-down, select the area of law you would like to associate with this form template. This can help you to organize your library of form templates.
- In the Add Field area, click the plus sign icon to add a field to the form template.
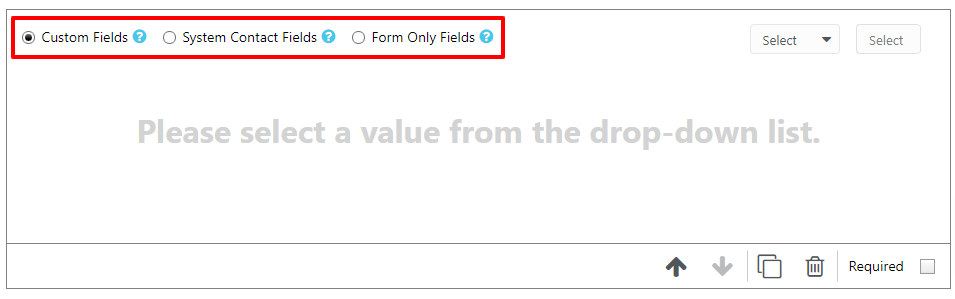
A screen then shows with the text “Please select a value from the drop-down list”. - Select one of the three radio buttons at the top left: Custom Fields, System Contact Fields, or Form Only Fields.
This will determine which fields you are able to select from.
|
Custom Fields |
|
|---|---|
| System Contact Fields |
|
| Form Only Fields |
|
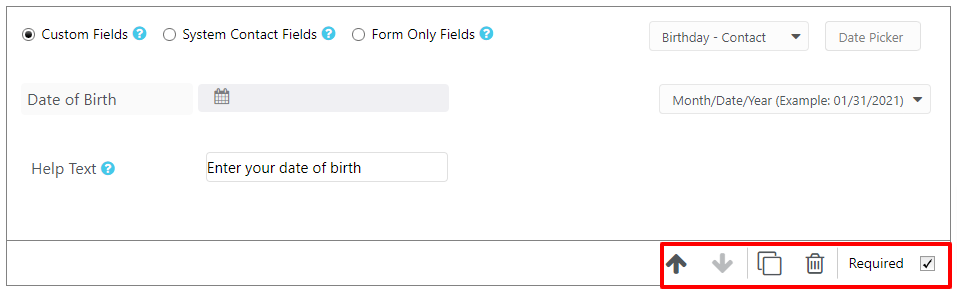
- Select a field or field type from the “Select” drop-down on the right. In the example below, I chose the custom field Birthday which is a date picker field. Note we tagged “Matter” or “Contact” at the end of the custom field names to specify where this field lives in the system. If you choose to add a Form Only field, you will instead be provided a list of field types for a new field to be created.
- Review/Enter field label. If available, the existing field name will be provided but can be edited. Here I changed “Birthday” to “Date of Birth”. Next to the label you will see a preview of what the field would look like.
- Review additional options. Some fields may provide some additional options. Since I selected a date picker field type, I am provided the option to change the date formatting. Complete as needed.
- Enter help text. If desired, you can enter help text for the field. This text will appear as a tooltip next to the form label. If choosing a system field that contains a collection of multiple fields (e.g. Primary Address), it will show next to the label of the first element of this list.
- Use provided form tools. At the bottom right you have additional tools. You can change the order of the fields by using the up and down arrows, as well as copy or delete the field. You can also check off the Required box if you would like to require the recipient to complete this field.
- Repeat these steps until all needed fields are added to this form template. If you need to complete at a later date, confirm that Draft Mode is checked at the top of the template (next to title), then save. You can later locate the form under Setup > Form Templates and click edit to continue editing. Templates in draft mode will not be available for use.
- When ready to use this template, uncheck the Draft Mode box and click Save at the top right. This will make this template available for use when sending forms.
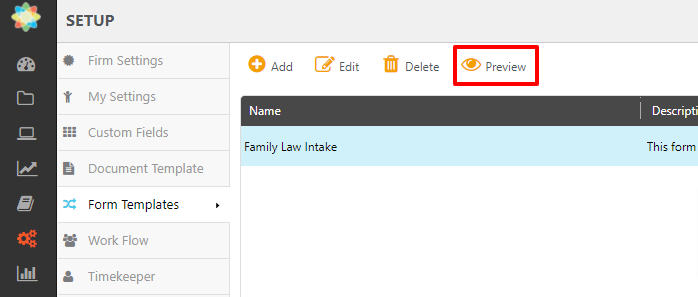
Preview A Template
Once a template is created, you will have the ability to preview how the form will look to the recipient.
- From the left navigation panel, click Setup.
- Within the Setup left navigation, click Form Templates.
- From the toolbar atop the Form Templates screen, click Preview.
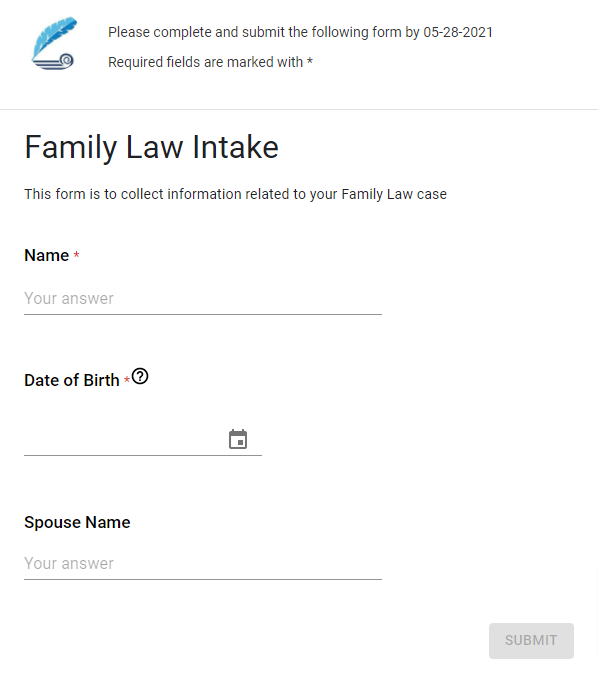
A separate tab will open with a preview of the form.
Edit or Delete a Template
From the Form Templates list under Setup, you can click Edit to make changes to a template, or Delete to remove it.
Send a Form
To use a form template to send an intake form to an outside party, see Create & Share an Intake Form.