You can synchronize your Google calendar events in real-time with the CosmoLex calendar. This integration is bidirectional, meaning anything you create in CosmoLex will appear in your Google calendar, and vice versa.
Setup (Firm Level)
- From the left navigation panel, click Setup.
- At the bottom of the Setup left navigation, click Apps.
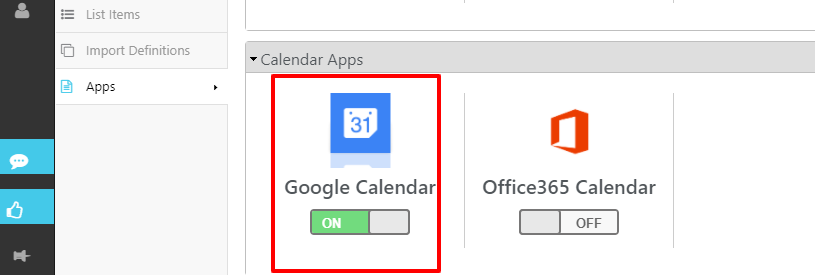
- On the Apps screen, in the Calendar Apps section, click the Google Calendar on/off slider.
The slider switches to On. Google Calendar sync is activated and available for use at the user level.
Setup (User Level)
Users have the option to link an existing or new Google Calendar.
Existing Google Calendar
To sync your Google Calendar with your CosmoLex calendar:
- From the left navigation panel, click Setup.
- At the bottom of the Setup left navigation, click My Settings.
- From the tabs atop the My Settings screen, click User.
- From the Default Calendar field’s drop-down, click Google.
- In the Google Calendar field, click Sign in with Google.
Google’s Choose an account screen launches.
![]()
- Choose your account.
- If you are not already logged in, when prompted, enter your login credentials and sign in.
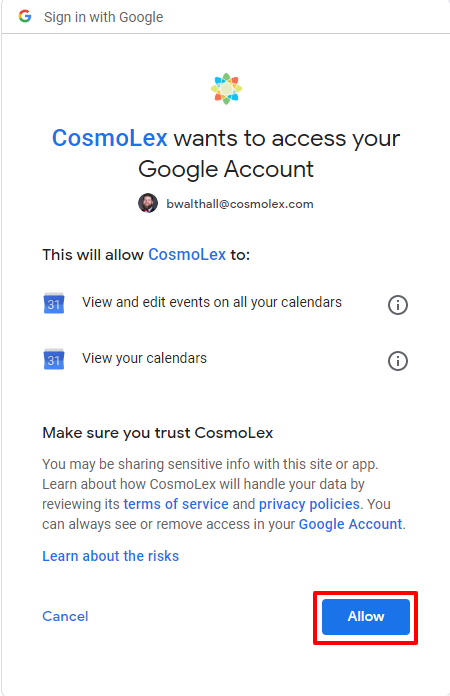
The screen message reads: Cosmolex wants to access your Google Account - Click Allow.
 Google’s Calendar Integration screen asks which calendar to sync.
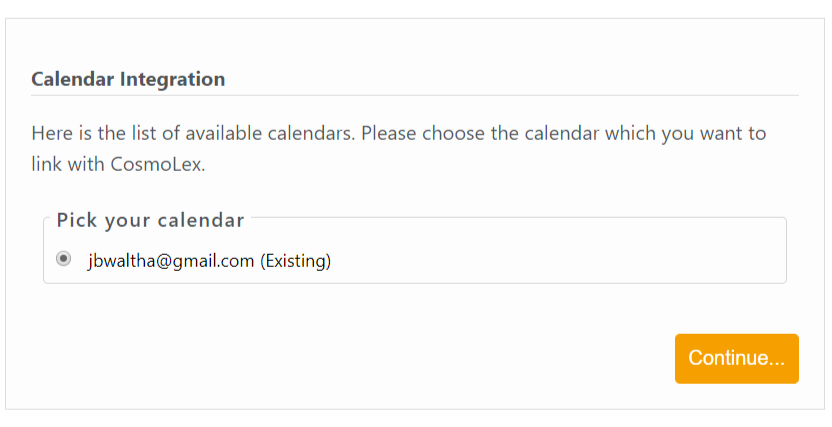
- Click Continue.
A message displays: Google Calendar is successfully linked to your CosmoLex Account!

New Google Calendar
To create and sync a new Google Calendar with the CosmoLex calendar:
- Log into your Google calendar.
- Beside the Other calendars field, click the plus sign (+).
A drop-down displays. - Click Create new calendar.
The Create new calendar screen opens.
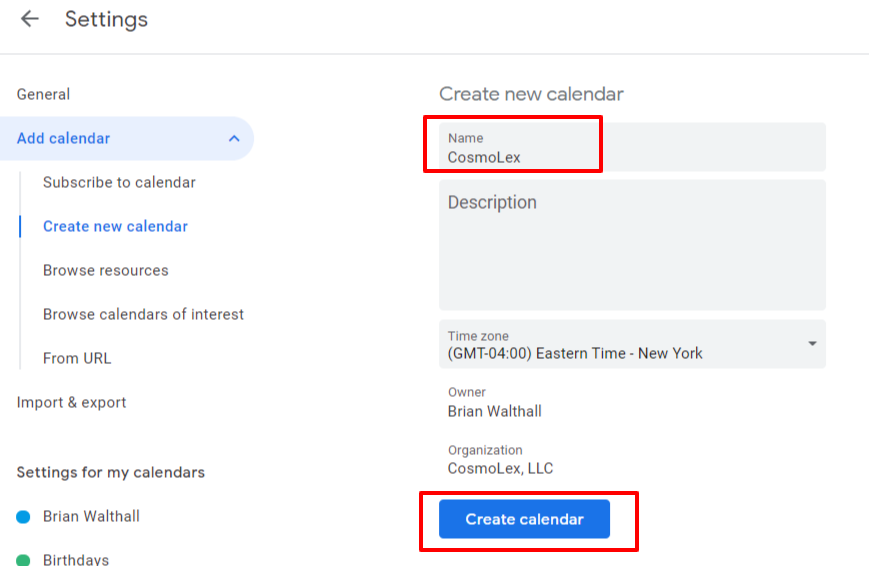
- In the Name field, enter the new calendar’s name (such as CosmoLex).
- At the bottom of the screen, click Create calendar.
Google creates your new calendar. - Return to your CosmoLex account.
- From the left navigation panel, click Setup.
- From the Setup left navigation, click My Settings.
- From the tabs atop the My Settings screen, click User.
- From the Default Calendar field’s drop-down, click Google.
- In the Google Calendar field, click Sign in with Google.
Google’s Choose an account screen launches. - When prompted, enter your login credentials and sign in.
The screen message reads: Cosmolex wants to access your Google Account. - Click Allow.
Google’s Calendar Integration screen asks which calendar to sync. The radio button for CosmoLex (Existing) is pre-selected.
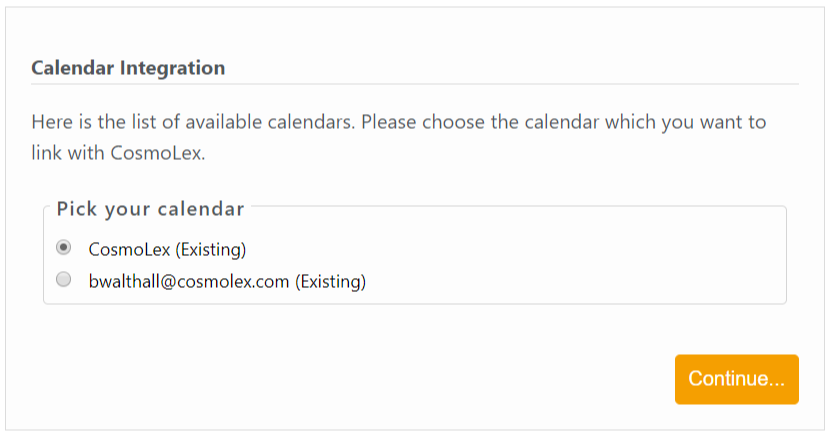
- Click Continue.
A message box reads: Google Calendar is successfully linked to your CosmoLex Account! Going forward, events you create in your new Google CosmoLex calendar will populate and sync with the CosmoLex app calendar, and vice-versa.
- To continue working in CosmoLex, click Back To CosmoLex.
