Once you create labels and set up your email integration, you can use them to help organize your emails.
CosmoLex stores your forwarded emails in your Inbox.
The inbox contains three subfolders:
- Tagged (linked to a matter)
- Untagged (unlinked to matter)
- Multi Match (multiple matter matches)
Whether an item is tagged, billed, or associated with a label, it remains in your Inbox folder.

Assign a Label to an Email
To assign a label to an email:
- From the left navigation panel, click Activities.
- From the Activities left navigation, click Communications.
- From the tabs atop the Communications screen, click Emails.
On the Emails screen, check the boxes beside the emails with which you want to associate labels.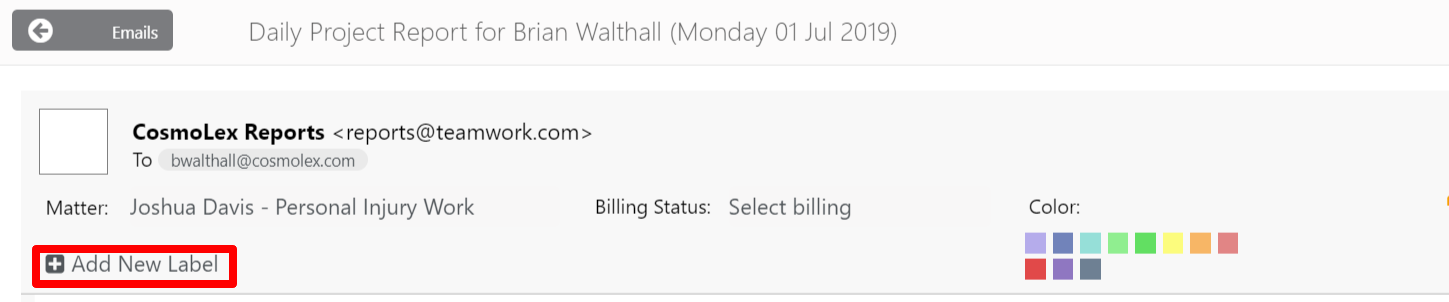
- From the toolbar, click More > Associate Labels.
- On the Associate Labels screen, click Add New Label.
- From the drop-down, take the appropriate actions:
- Assign a Label
- From the drop-down, click the label you want to assign.
The system adds the label to the email.
- From the drop-down, click the label you want to assign.
- Add New Label
- Click Add New Label.
The drop-down displays. - Click Create New Label.
- In the Create New Label window, in the Label field, enter the label name.
- Click Save.
The system adds the label to the email.
- Click Add New Label.
- Delete a Label
- Click the X to a label’s right to delete it from the email.
- Assign a Label
- Repeat step 6 as needed.
- In the upper left corner, click Emails.
The system returns to the Emails screen.