Within the User Management feature, you can determine which reports a user can access under the Reports.
Set Up a User’s Report Access
To set up a user’s report access:
- From the left navigation panel, click Account Management.
- From the Account Management left navigation, click User Management.
- On the User Management screen, double-click a user, or single-click them, and from the toolbar, click Edit.
- On the Edit User screen, scroll down to the Restrict Report Visibility section and check the box beside it.
- The section expands, displaying Restricted and Allowed columns. Highlight reports listed in either column and use the right and left arrows to move them between columns.
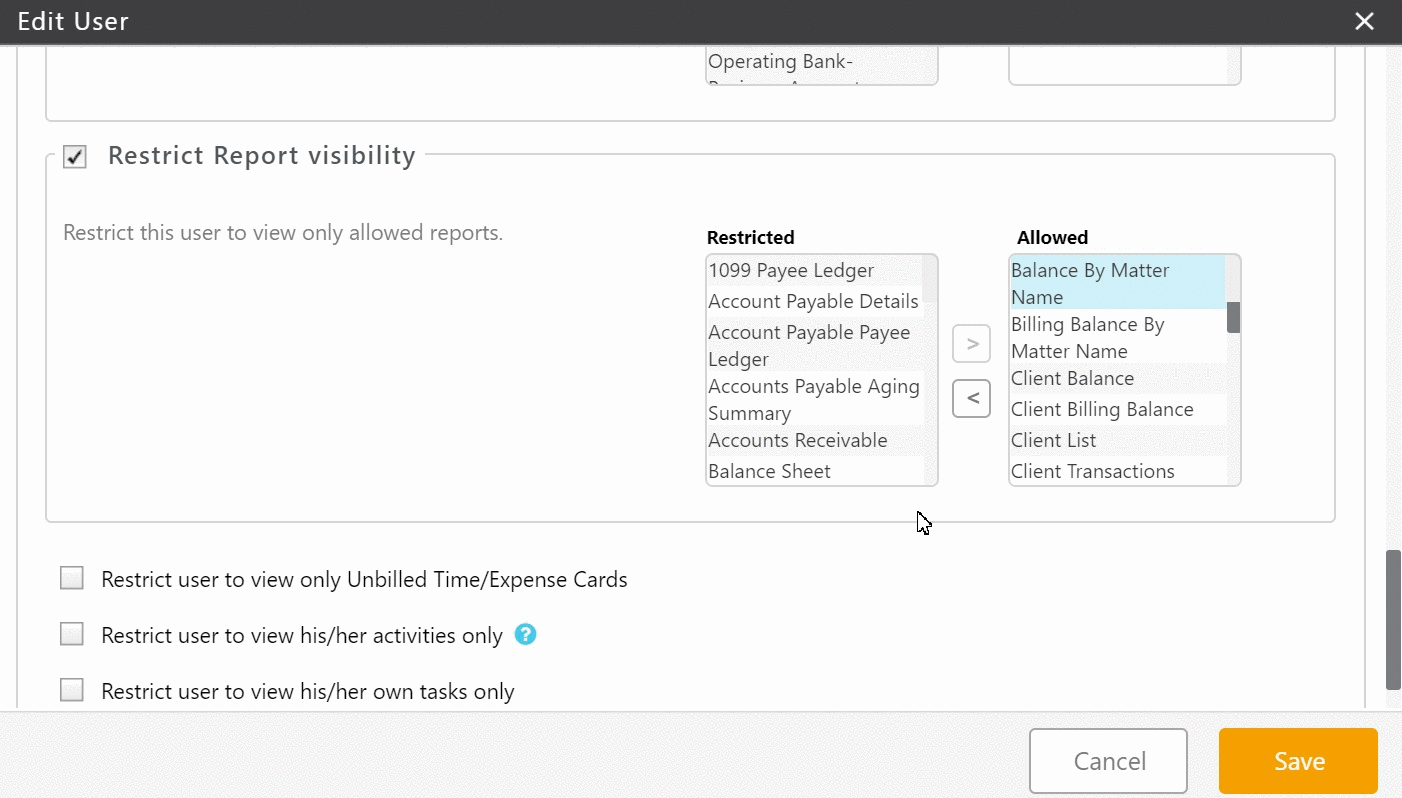
- Click Save.
The system saves the user’s reports access. Only Allowed reports will display on the Reports screen.