By using our CosmoLexPay or LawPay integration, your clients can pay their invoices online by:
- Credit Card
- ACH/eCheck (CosmoLexPay (US) only)
To set up online payments, you must first enroll & integrate with one of our payment processing apps.
Once that is completed, your clients will be able to pay their invoices through an invoice payment link, or through the secure client portal.
Invoice Payment Link
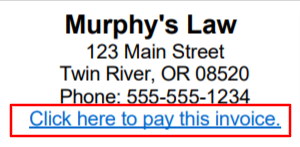
By default, when enabling a payment processing app, a payment link will appear on your invoice header as shown above. Note that the header appears at the top of each page of the invoice.
Once they submit their payment, they receive a confirmation message and the payment is automatically applied to the invoice within CosmoLex.
Add or Move Payment Link
-
From the left navigation panel, click Setup.
-
Atop the Setup left navigation, click Firm Settings.
-
From the tabs atop the Firm Settings screen, click Invoice Settings.
-
On the Invoice Settings screen, in the Invoice Templates section, toward the far right of the Header row, click Edit/preview.
The Edit Header message box displays: Changes must be made carefully and saved using the toolbar. - Click OK.
The Edit Invoice screen opens.
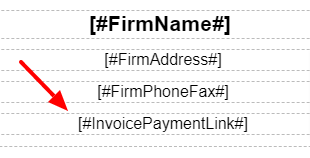
This is where the merge field for the invoice payment link is located (by default)
You can copy/cut and paste this merge field elsewhere, such as your cover letter or footer, if desired.
- If edits were made, click Save.
The system saves the header template.
Client Portal
You will first need to enable the client portal on the firm and matter level. Once enabled, you can then share various items, including invoices with your client.
To share an invoice via the client portal:
- From the left navigation panel, click Matters.
- On the Matters screen, either double-click the matter, or single-click the matter to highlight it, then in the toolbar, click Details.
- From Matter Details left navigation, click Billing.
- From the tabs atop the Billing screen, click Invoice.
- On the Invoice screen, single-click the invoice to highlight it.
- From the toolbar, click Action > Share via Client Portal.
The Share via Client Portal message box displays: This is an Unfinal invoice. Invoice will be marked as Final once shared. Continue? - Click Yes.
The Share via Client Portal message box displays: Invoice has been shared successfully. - Click OK.
To the far left of the invoice, a silhouette icon indicates the invoice is accessible via the portal. - Direct your client to login into the client portal at https://client.cosmolex.com. or you can add a client portal button to your website.
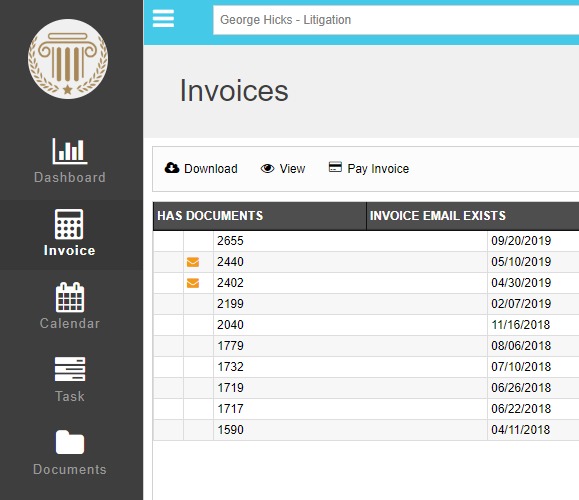
- Once logged into the portal, from the left navigation panel, the client must click Invoice.
Shared invoices display in the window as shown below. - The client must single-click the invoice to highlight it.
- From the toolbar, click Pay Invoice. Note that this button is only visible if your CosmoLex account is integrated with CosmolexPay or LawPay.